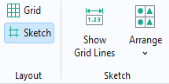
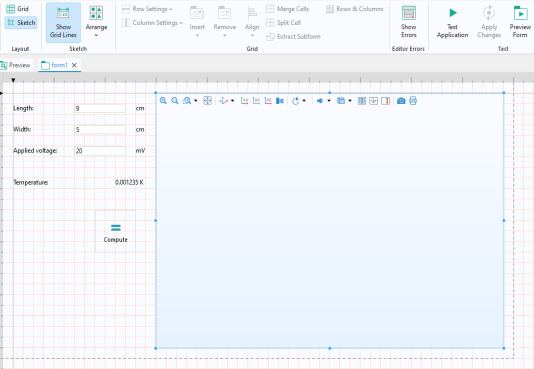
The Sketch section in the
Form tab has two options:
Show Grid Lines and
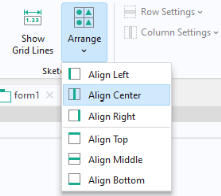
Arrange. The
Arrange menu allows you to align groups of form objects relative to each other.
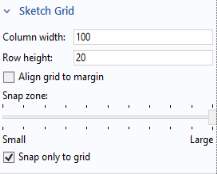
The Show Grid Lines option displays a sketch grid to which objects are snapped. Note that the grid used in sketch layout mode is different from the grid used in grid layout mode. The default setting for sketch layout mode is to show no grid lines. Without grid lines visible, a form object being dragged is snapped relative to the position of the other form objects.
If the Show Grid Lines option is selected, the upper left corner of a form object being dragged is snapped to the grid line intersection points.
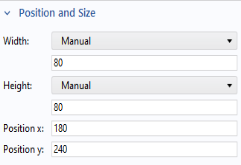
In the Settings window of the form, you can change the settings for the sketch grid:
The sketch layout mode is pixel based, and the positioning of form objects is indicated as the coordinates of the top-left corner of the form object measured from the top-left corner of the screen. The x-coordinate increases as the object moves to the right, and the
y-coordinate increases as the object moves from the top of the screen to the bottom. You can set the absolute position of a form object in the
Position and Size section of its
Settings window.
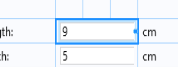
Form objects are allotted as much space as required or as specified by their Width and
Height values. Form objects are allowed to overlap, when working in sketch layout mode.
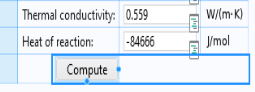
Button and toggle button form objects, with their Size setting set to
Large, have an
Automatic and
Manual option for the
Width and
Height values. The
Manual option allows for pixel-based input and the
Automatic option adapts the size of the button to the size of the
Text string.
The buttons and menus in the ribbon Grid group give you easy access to commands for:
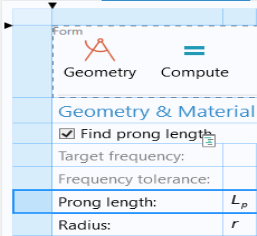
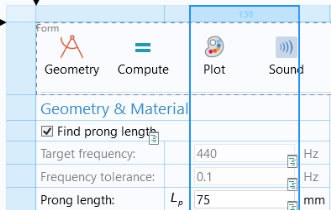
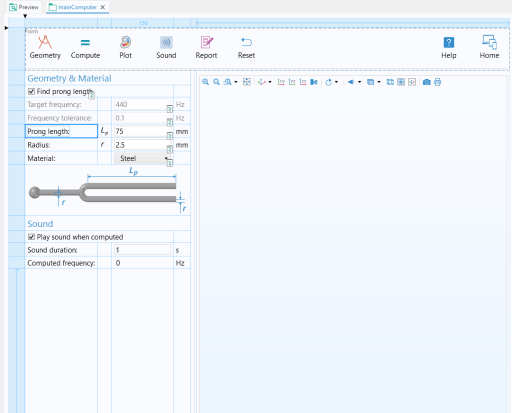
To review the example shown here, open the Tuning Fork application from the Application Libraries under
COMSOL Multiphysics >
Applications.
The section Grid Layout for Contained Form Objects in the
Settings window shows column widths and row heights.
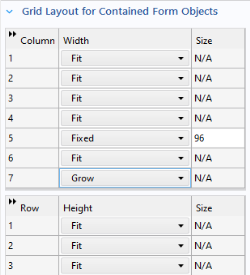
Note that if you switch from sketch to grid layout mode, all rows and columns will have the setting Fit and the handles for the frame will not be displayed. If any of the rows and columns have the
Height or
Width setting set to
Grow, then the frame will display handles for resizing in the vertical or horizontal direction, respectively.
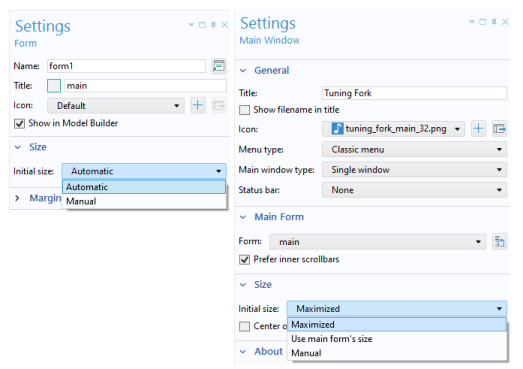
The size of the interactively resized frame will affect the initial size of the form only if the Initial size setting is set to
Automatic. The size of the frame will also affect the initial size of the
Main Window if its
Initial size setting is set to
Use main form’s size.
The Row Settings and the
Column Settings have the same three options:
In this case, the number of pixels will be displayed and the Row Settings or
Column Settings growth policy will be changed automatically to
Fixed.
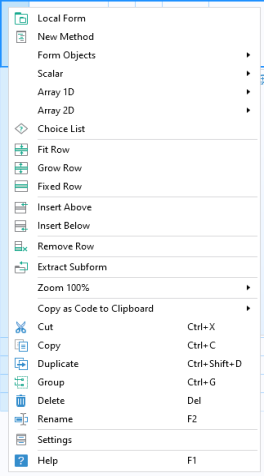
As an alternative to changing the Row Settings or
Column Settings from the ribbon, you can right-click in a row or column (the light-blue area to the left or at the top of the form) and select from a menu.
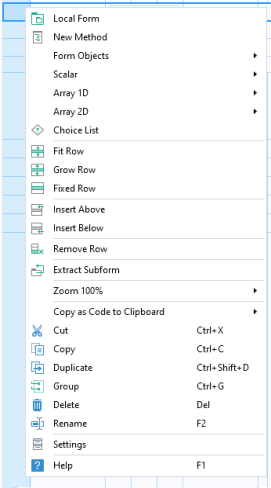
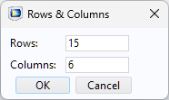
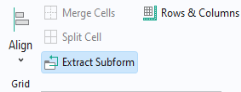
You can select Merge Cells and
Split Cells to adjust the cell size and layout of your form objects.
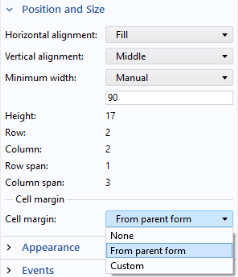
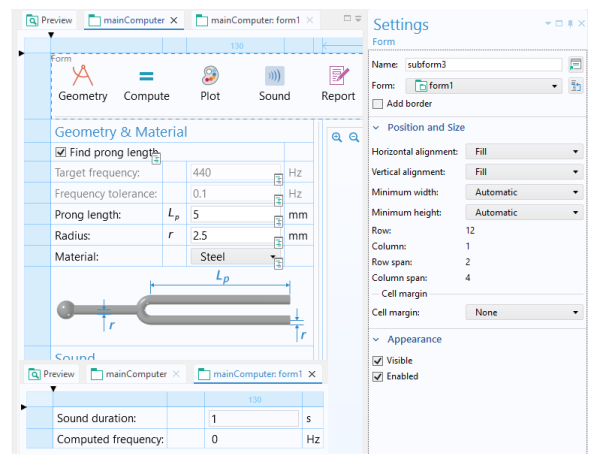
In the Settings window of a form object, the
Position and Size section has the following options for
Cell margin:
If the Horizontal alignment or
Vertical alignment is set to
Fill and the growth policy of the column or row allows the form object to be resized, then you can specify a minimum width or height, respectively. The minimum size can be set to
Manual or
Automatic. The
Manual option lets you specify a pixel value for the minimum size. The
Automatic option allows for a minimum size of zero pixels, unless the form object contents require a higher value. The minimum size setting is used at runtime to ensure that scroll bars are shown before the form object shrinks below its minimum size.
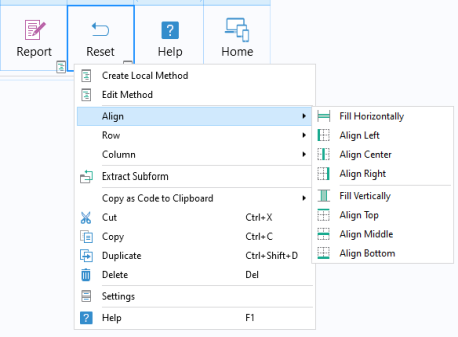
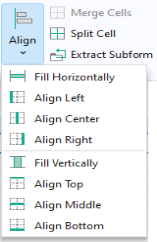
The Align menu gives you options for aligning form objects within a cell. You can also let a form object dynamically fill a cell horizontally or vertically.
This operation creates a new form with the selected cells and replaces the original cells with a form object of type Form. In the
Settings window of the subform, the
Form reference points to the new form containing the original cells.
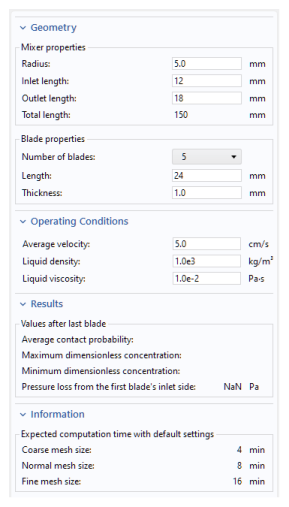
To review the example shown here, open the Helical Static Mixer application from the Application Libraries under
COMSOL Multiphysics >
Applications. In this example, the
Application theme setting, available in the
Themes node in the application tree, is set to
Default, whereas in the saved example it is set to
Dark.
When aligning forms vertically, as in the example above, you may want to ensure that all columns are of equal width. For this purpose, you can use the Inherit columns option in the
Settings window of a subform. The figure below shows part of the
Settings window for the
Operating Conditions form (left) with
Name operatingConditions and for the
Mixer properties form (right) with
Name mixerProperties. The
mixerProperties form has its
Inherit columns set to the form
operatingConditions.
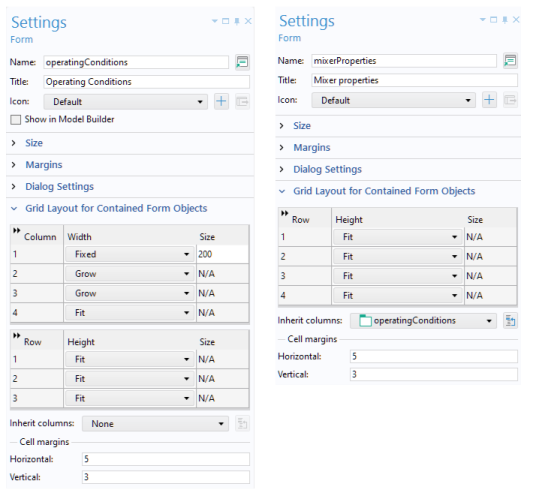
In the subsection Cell margins, you can specify the
Horizontal and
Vertical margins that are added between form objects and the borders of their containing cells. These settings will affect all form objects contained in the form, with their individual
Cell margins set to
From parent form; See
Cells.