|
1
|
|
2
|
In the Add Material window, click to expand the Built-In folder. Scroll down to find Structural steel, right-click, and select Add to Component 1.
|
|
3
|
Close the Add Material window.
|
|
4
|
|
|
|
1
|
|
2
|
|
-
|
|
-
|
|
-
|
|
3
|
|
1
|
|
2
|
|
3
|
|
4
|
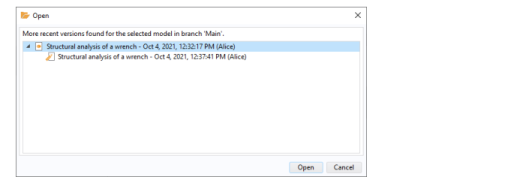
Select the top node in the tree in the dialog box and click Open to open the original model. The latest version of the model is opened in the COMSOL Desktop —neither the Structural steel node nor the Parameters setting is present in the model tree, as expected.
|
|
|
|
1
|
|
2
|
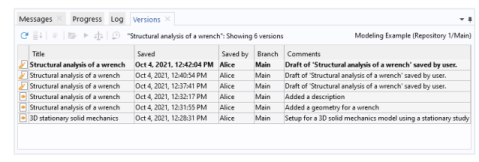
In the Open window, choose your database in the list of options.
|
|
3
|
|
1
|
|
2
|
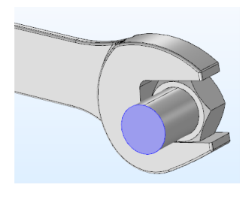
In the Graphics window, rotate the geometry and select the front surface of the partially modeled bolt. The Boundary number in the Selection list is 35.
 |
|
3
|
|
4
|
|
5
|
In the Settings window for Boundary Load, under Force, select Total force as the Load type and enter -F in the text field for the z component.
|
|
6
|
Select Mesh 1 (
|
|
7
|
|
1
|
|
2
|
|
3
|

|
|
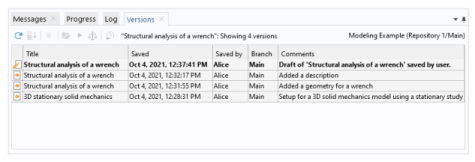
The draft is automatically deleted when you save it back to the original model. This deletion is not permanent though — see Deleting Items and references therein to learn how you may recover your draft versions.
|