The Application Libraries window (
Figure 2-12) contains sets of models and applications that you can use for a variety of purposes: for learning how to build COMSOL models, as starting points for your own models and applications, and as demonstrations of specific functionality. Each add-on module includes its own application library with information about how to use the module within its application areas. Each file includes full documentation and a brief description, including the solution times and information about the computer used for solving the model.
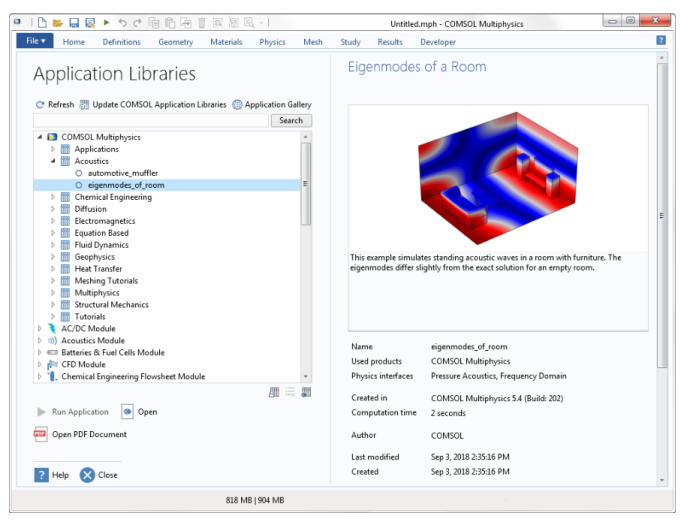
Browse through the Application Libraries tree to see what is available for your license. Click to highlight the file in the tree and read the information about it to the right, or search for a specific application. The information for each application includes:
The following settings can be modified using the buttons at the bottom of the Application Libraries tree on the
Application Libraries page in
The Preferences Dialog Box and — if the
Allow managing libraries in the Application Libraries window check box on that page is selected (the default) — also in the
Application Libraries window itself.
Click the Add User Application Library button (

) to add customized folders. In the
Add User Application Library dialog box, navigate to a location on your computer and select an existing directory or click
Make New Folder to create a custom folder. Click
OK to save the changes and exit, or
Cancel to exit without saving.
Click the Set COMSOL Application Libraries Root Directory button (

) to edit or set the root folder. This redirects the COMSOL software to a different folder where customized applications can be stored.
In the Set COMSOL Application Libraries Root Directory dialog box, navigate to the new root folder location or click
Make New Folder. Click
OK to save the changes and exit, or
Cancel to exit without saving.