Geometry
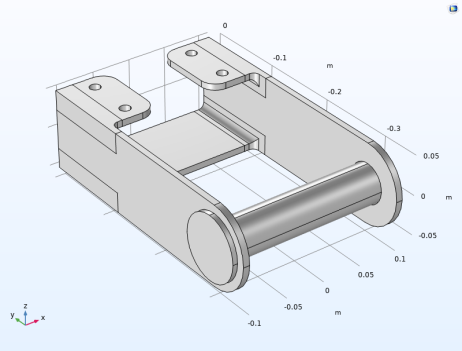
Next, the pin geometry is added to the bracket assembly. This is done by importing it into the existing geometry.
Note:
The location of the files used in this exercise varies based on your installation. For example, if the installation is on your hard drive, the file path might be similar to
C:\Program Files\COMSOL\COMSOL64\Multiphysics\applications\Structural_Mechanics_Module\Tutorials
.
Import
1
In the Home toolbar click Import
. An Import 2 node is added to the Model Builder.
2
In the Settings window for Import, locate the Import section. From the Source list, choose COMSOL Multiphysics file.
3
Click Browse
. and go to the model folder
Structural_Mechanics_Module\Tutorials
and double-click the file
bracket_pin.mphbin
.
4
Below the filename, click Import
.
Form Union (fin)
1
In the Model Builder under Geometry 1 click Form Union (fin)
.
2
In the Settings window for Form Union/Assembly, locate the Form Union/Assembly section.
3
From the Action list, choose Form an assembly.
4
Click the Build Selected button
.
The effect of this operation is that the bracket and pin are now independent objects. The adjacent boundaries are not shared.
Since the pins will be bonded to the bracket, it would have been possible to use either an assembly or a union. The advantage of using an assembly in this case is that it is not necessary to have a matching mesh on the two parts.