Model Wizard
Note:
These instructions are for the user interface on Windows but apply, with minor differences, also to Linux and Mac.
1
To start the software, double-click the COMSOL icon on the desktop. When the software opens, you can choose to use the Model Wizard
to create a new COMSOL model or Blank Model
to create one manually. For this tutorial, click the Model Wizard button.
If COMSOL is already open, you can start the Model Wizard by selecting New
from the File menu and then click Model Wizard
.
The Model Wizard guides you through the first steps of setting up a model. The next window lets you select the dimension of the modeling space.
2
In the Select Space Dimension window click the 3D button
.
3
In the Select Physics tree under Optics
> Ray Optics
, click Geometrical Optics
.
4
Click Add, then click the Study
button.
5
In the tree under Preset Studies for Selected Physics Interfaces, click Ray Tracing
.
The Ray Tracing study step functions like the Time Dependent
study step, but has additional settings and defaults that are well suited for computing ray trajectories. The rays are either traced to a maximum time or a maximum optical path length, to prevent them from propagating outward to an arbitrarily large distance.
6
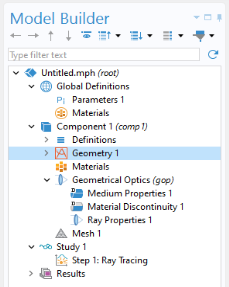
Click the Done
button. The Geometrical Optics interface is created with the default nodes shown below: