|
|
|


|
1
|
|
2
|
Click
|
|
1
|
|
2
|
|
3
|
Click
|
|
4
|
|
5
|
Click
|
|
1
|
|
2
|
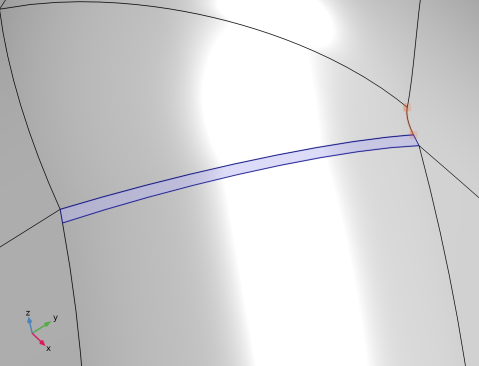
Select the object imp1 only.
|
|
3
|
|
4
|
Click
|
|
5
|
|
6
|
|
7
|
|
8
|
|
9
|
Click Replace.
|
|
10
|
|
11
|
|
1
|
|
2
|
|
3
|
|
4
|
|
5
|
|
6
|
Select the Automatic detection of small details checkbox if it wasn’t already selected.
|
|
1
|
|
2
|
|
1
|
Go to the Cleanup Wizard window.
|
|
2
|
Click the Manual button.
|
|
3
|
|
4
|
Click the Refresh button in the window toolbar.
|
|
5
|
|
6
|
|
1
|
|
2
|
|
3
|
|
4
|
|
1
|
Go to the Cleanup Wizard window.
|
|
2
|
Click the Apply button in the window toolbar to continue with the specified detail size.
|
|
3
|
|
1
|
|
2
|
|
3
|
|
4
|
|
1
|
Go to the Cleanup Wizard window.
|
|
2
|
Click the Done button in the window toolbar to close the window and add a Cleanup Log node.
|
|
1
|
|
2
|