Finding and Deleting Small Faces
1
In the Geometry toolbar, click Defeaturing and Repair
and choose Delete Small Faces
.
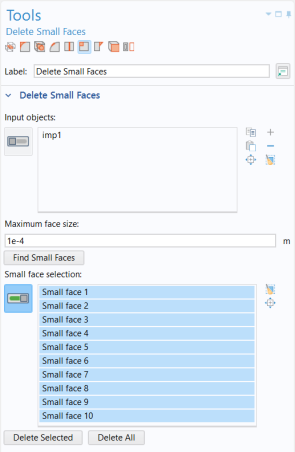
In the Tools window for Delete Small Faces, the wheel rim,
imp1
, already appears in the Input objects list.
2
In the Maximum face size text field enter
1e-4
.
Since the default import tolerance is 10
-5
m it is good practice to start the search with 10
-4
m, unless the imported CAD design is of a much larger scale.
3
Click the Find Small Faces button.
Ten faces are listed in the Small face selection list.
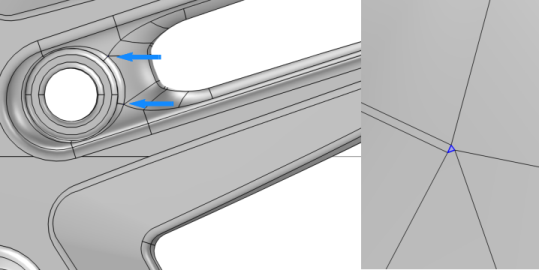
4
Use the Zoom to Selection
button next to the list to find the faces on the rim, which are found around the bolt holes, as illustrated in the figure below.
5
To delete all faces in the list click the Delete All button.
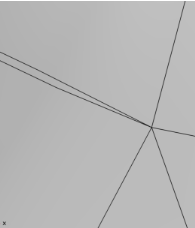
The tool removes small faces by collapsing them into a vertex (point). Therefore it is not recommended to delete larger faces this way as it might result in unexpected changes to the geometry.
Note that as the operation is done, the Delete Small Faces 1 (dsf1)
node is added to the geometry sequence in the Model Builder tree. The node allows you to go back and edit the delete operation.
The Tools window for Delete Small Faces continues to be displayed so that you can continue defeaturing using this or any of the other defeaturing tools, which you can access by clicking one of the buttons at the top of the window. If you happen to click a node in the geometry sequence of the Model Builder tree, the Settings window for that node will be displayed instead of the Tools window. To bring back the Tools window you can always select one of the defeaturing tools in the Geometry toolbar.