Deleting Details
The holes that now remain in the back of the enclosure for the connections do not have a cylindrical cross section. You can delete them using the Replace Faces tool, which is suitable for deleting various geometric details that may not be important for a simulation. In addition to the holes for the connections, use this tool to delete some of the mounting details from the bottom part of the enclosure.
5
Click the
Select Objects button in the Graphics toolbar.
6
Click the
Click and Hide button in the Graphics toolbar.
7
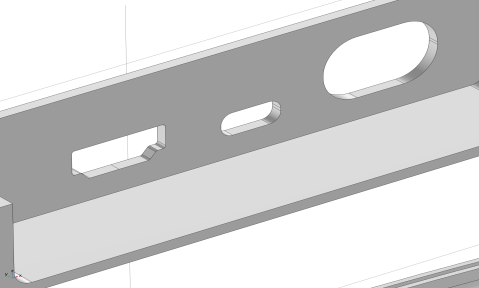
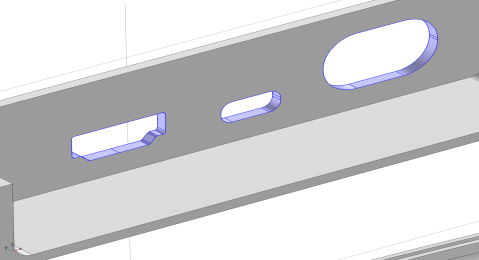
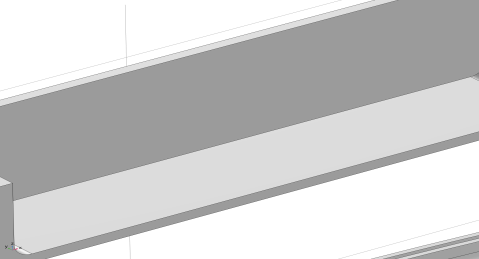
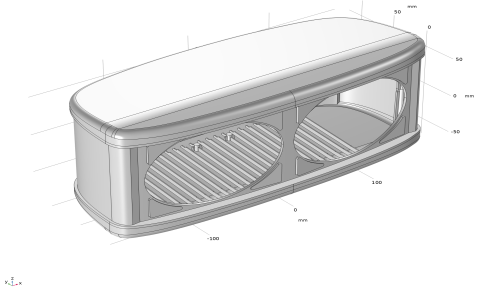
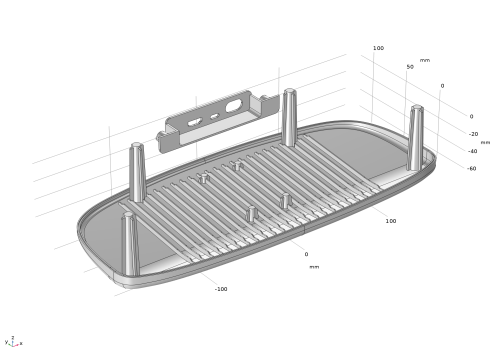
In the Graphics window select the objects for the enclosure mid and top sections (
dho1(2)
and
dho1(3)
) to hide them from view.
8
Click again the
Click and Hide button in the Graphics toolbar to turn off the click and hide mode.
9
Click the
Zoom Box button in the Graphics toolbar and zoom in to the holes in the back.
10
In the Tools window for Delete Holes, click
Replace Faces.
Using this tool you can delete larger geometric details, and the resulting gap is automatically healed by one of two methods: the surrounding faces are grown or shrunken to cover the gap; a new face is constructed based on the edges of the gap.
Add the boundaries of the holes to the Faces to replace list in the Tools window for Replace Faces. The easiest to do this is as follows.
11
Click the
Select Box button in the Graphics toolbar.
12
Hold the left mouse button to draw a square around the holes to select their faces.
13
In the Tools window for Replace Faces, select the Heal as through hole checkbox.
14
In the Tools window for Replace Faces, click Replace Selected.
The holes are removed and the surrounding boundaries are extended to cover the gap.
15
Click the
Zoom Extents button in the Graphics toolbar.
16
Click the
Go to XY View button in the Graphics toolbar.
17
Click the
Zoom Box button in the Graphics toolbar and zoom in to the two mounting details in the front.
18
Click the
Select Box button in the Graphics toolbar.
19
Hold the left mouse button to draw a square around the faces highlighted below.
20
In the Tools window for Replace Faces, clear the Heal as through hole checkbox.
21
In the Tools window for Replace Faces, click Replace Selected.
22
Click the
Go to Default View button in the Graphics toolbar.
The two mounting details are removed from the geometry.
23
Click the
Reset Hiding button in the Graphics toolbar, and in the Confirm Delete dialog that opens click Delete all hide for geometry nodes.