|
2
|
|
1
|
|
2
|
|
1
|
|
2
|
|
3
|
|
1
|
Repeatedly click the Show More button (
|
|
3
|
|
4
|
|
5
|
At the bottom of the Model Manager window, click the link text informing you that the current search result is out of date.
|
|
6
|
|
7
|
|
|
|
1
|
|
2
|
|
3
|
|
4
|
|
1
|
|
2
|
|
3
|
|
1
|
|
2
|
|
3
|
Click the Parent tags tab.
|
|
4
|
Find and select the Projects tag (
|
|
5
|
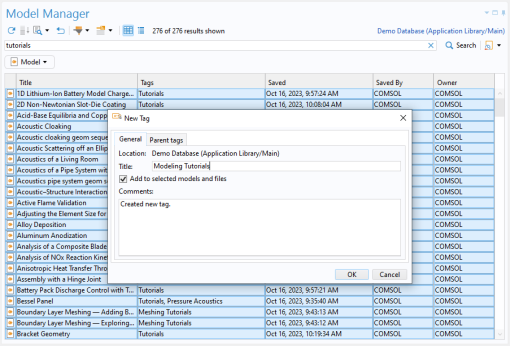
Click OK to create the tag.
|
|
1
|
|
3
|
|
4
|
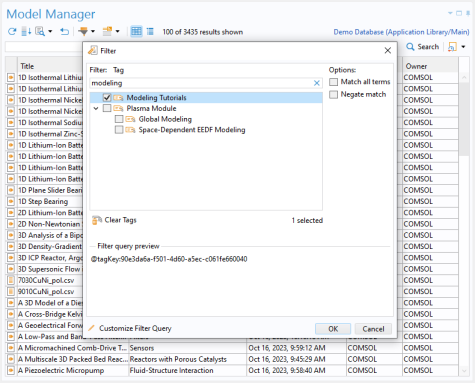
Find and select the In Progress tag — for example by typing progress in the text field above the tree.
|
|
5
|
|
|
|
1
|
|
2
|
|
3
|
In the Save window, choose the demo database in the list of options.
|
|
4
|
|
5
|
|
1
|
|
2
|
Write Modeling Tutorials and press Enter.
|
|
3
|
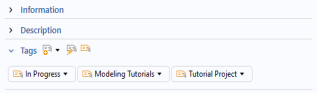
Repeat this also for the In Progress tag.
|
|
1
|
|
2
|
|
3
|
|
4
|