Use a Rectangle (

) or
Rectangle (Center) (

) node to add a rectangle to your geometry, as shown in
Figure 7-29.

When you have added a node or finished drawing the rectangle in the Graphics window, you can use the following section to define it or fine-tune it.
From the Type list, select
Solid or
Curve to specify if the rectangle is a solid object or a curve object.
Enter the position of the rectangle using the x and
y fields (
r and
z in 2D axial symmetry,
xw and
yw in work planes). From the
Base list, choose
Center if the rectangle is centered about the position, or choose
Corner if the rectangle has a corner at the position.
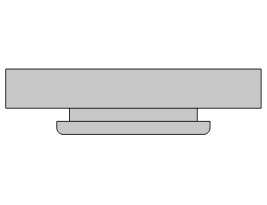
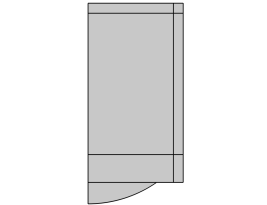
Layers can be used to create sandwich primitives by adding layers on one or more sides, as shown in Figure 7-30. This is especially useful when specifying artificial domains in the physics, such as Infinite Element Domains and Perfectly Matched Layers. You specify the thicknesses of layers in the
Layers table, and optionally a name for each layer. The outermost layer comes first. Select the checkboxes to specify where to apply the layers. Each layer must have a minimal thickness (depending on the size of the geometry).

Select the Resulting objects selection checkbox to create predefined selections (for all levels — objects, domains, boundaries, and points — that are applicable) in subsequent nodes in the geometry sequence. To also make all or one of the types of resulting entities (domains, boundaries, edges, and points) that the rectangle consists of available as selections in all applicable selection lists (in physics and materials settings, for example), choose an option from the
Show in physics (
Show in instances if in a geometry part;
Show in 3D in a plane geometry under a work plane in a 3D component) list:
All levels,
Domain selection,
Boundary selection, or
Point selection. The default is
Domain selection, which is suitable for use with materials and physics defined in domains. For use with a boundary condition, for example, choose
Boundary selection. These selections do not appear as separate selection nodes in the model tree. Select
Off to not make any selection available outside of the geometry sequence. From the
Color list, choose a color for highlighting the resulting objects selection. See
Selection Colors.
When the Layers table is nonempty, select the
Create layer selections checkbox to create predefined domain selections for each specified layer and for the core domain. To also make the domains available as selections in all applicable selection lists (in physics and materials settings, for example), select the
Show in physics (
Show in instances if in a geometry part or
Show in 3D if in a Plane Geometry) checkbox (ON by default).
Select the Construction geometry checkbox to make the resulting objects available only in the feature’s geometry sequence. For more information, see
Construction Geometry.


