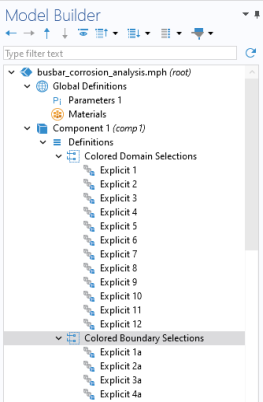
The add-in is accessed from a ribbon tab called Colored Selections. After you have added the add-in from the
Add-in Libraries, this ribbon tab will be available to the right of the
Developer tab (in the Windows operating system), as shown in the figure below.

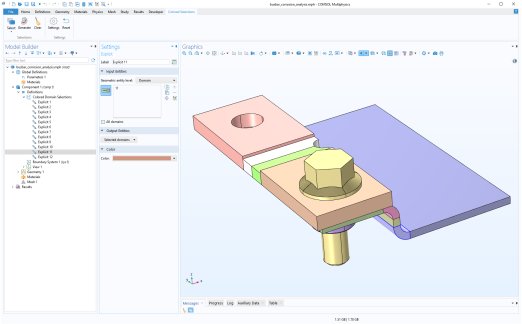
Using the Select menu, you choose whether to create colored selections for domains or boundaries.

Click the Generate button to generate the colored selections. These are added as a series of
Explicit Selections, one for each domain or boundary, with an assigned random color.
Click the Clear button to remove one of the selection groups. The
Select setting will determine which one of the two groups that will be removed.
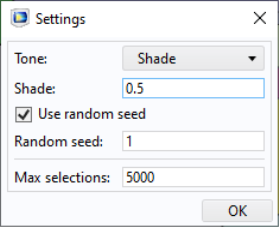
Click the Settings button to open the
Settings window for the add-in, as shown in the figure below.
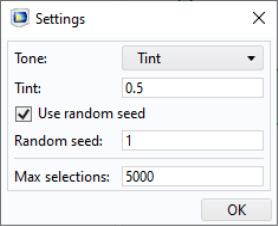
where r,
g, and
b are the randomized red, green, and blue colors, respectively.
You can specify the amount of Shade as a number between 0 and 1, where 0 gives the original randomized color and 1 gives a black color. The transformation from the original colors to the shaded ones is described by:
By default, the random sequence of colors is determined by a preset seed, controlled by the Use random seed checkbox. This will create the same random sequence of color each time. By changing the
Random seed value to a different integer you will get a different random sequence of colors. If you clear the
Use random seed checkbox, you will get a new random sequence of colors each time you click the
Generate button.
The Max selections value specifies the maximum number of
Explicit Selections created. If this number is lower than the number of domains or boundaries, the previously generated selections and colors will be reused in a repeating sequence. This can be used to limit the number of feature nodes generated in the Model Builder.
Click the Reset button to reset all settings to their factory values.