Model Wizard
Note:
These instructions are for the user interface on Windows
®
but also apply, with minor differences, to Linux
®
and macOS.
1
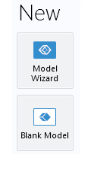
To start the software, double-click the COMSOL icon on the desktop. When the software opens, you can choose to use the Model Wizard to create a new COMSOL Multiphysics model or a Blank Model to create one manually. For this tutorial, click the Model Wizard button.
If COMSOL Multiphysics is already open, you can start the Model Wizard by selecting New
from the File menu and then click Model Wizard
.
The Model Wizard guides you through the first steps of setting up a model. The next window lets you select the dimension of the modeling space.
2
In the Select Space Dimension window click 3D
.
3
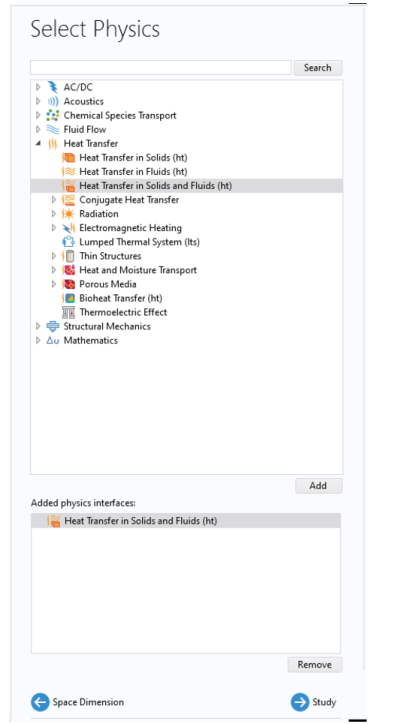
In the Select Physics tree, under Heat Transfer click Heat Transfer in Solids and Fluids
. In the first part of this tutorial heat transfer is modeled only in the solid part, hence the predefined node for the fluid domains remains with an empty selection. The fluid node is used for the fluid domains in the second part of this tutorial when the air domain is added.
4
Click Add and then
Study to continue.
5
Under General Studies click Stationary
.
6
Click Done
.
Preset Studies have solver and equation settings adapted to the selected physics interface (in this example, Heat Transfer in Solids). A Stationary study is used in this case—there is no time-varying heat source or cooling condition.